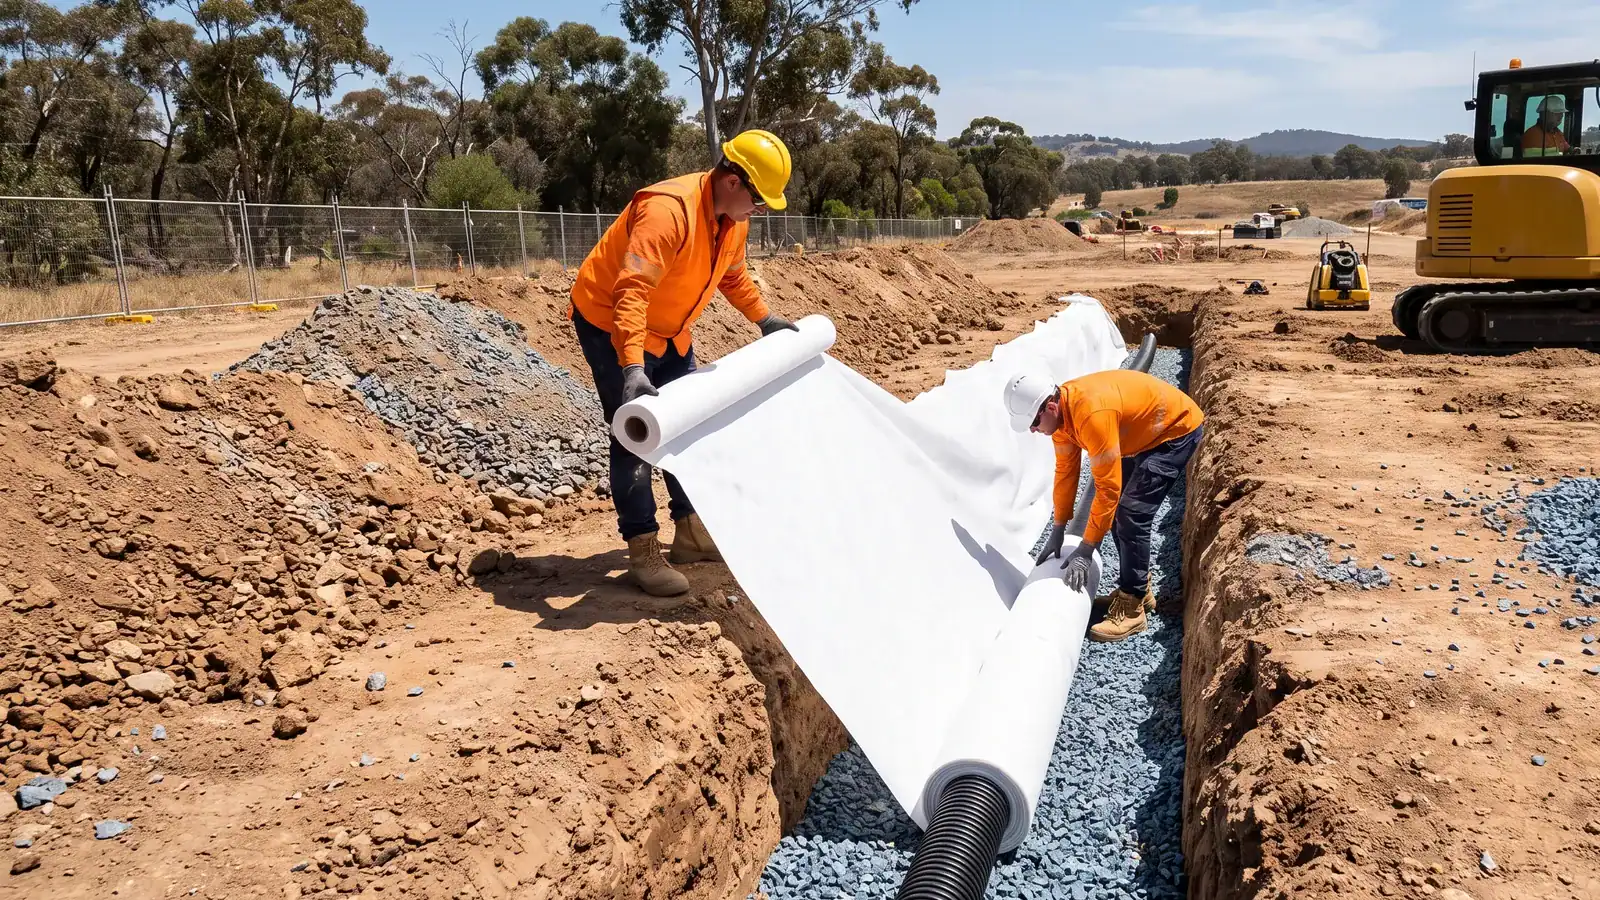
To install silt fence, set it out along the contour below disturbed soil, secure the fabric to the uphill side of suitable posts, bury the bottom edge and compact the backfill. Turn the ends uphill so runoff cannot escape around them, then inspect the fence throughout the job.
The written steps below cover materials, set-out and checks for landscapers and site crews. Use them alongside your project's erosion and sediment control plan and the fabric manufacturer's installation detail.
A woven mesh filter fabric designed to contain sediment while allowing drainage.
Position the temporary fabric fence below exposed ground, across shallow, spread-out runoff. The US EPA's silt fence guidance explains that temporary ponding allows sediment to settle; it also warns against placing ordinary silt fence across continuously flowing channels.
Walk the proposed line before unloading the rolls. A property boundary may run downhill, while the fence needs a layout that can hold shallow water behind it.
You will need purpose-made sediment fabric, compatible posts and fixings, plus tools to trench and compact the base. The Australian Government's YourHome sediment control guidance identifies geotextile sediment fencing and warns that shade cloth is unsuitable.
Prepare a materials list from the measured layout, including end returns and joins. Check the specified fabric grade before choosing a roll; colour and roll length alone do not establish suitability.
Check a sample length against the dimensions in the installation drawing before ordering the full quantity. Fabric used below ground comes out of the roll width, so a 770 mm wide roll does not give a 770 mm exposed fence.
Bury the bottom edge continuously and support the fabric as shown in the installation drawing. A NSW Planning Portal construction drawing illustrates a 200 mm trench, posts at no more than 2 m intervals, uphill fabric and compacted backfill; these are reference details, not a substitute for your project's drawing.
Check the first completed bay before the crew repeats it along the site. It is much easier to correct the wrong fabric height or post position at this point than after every trench has been backfilled.
Keep offcuts and packaging out of the work area. A tidy fence line makes gaps and damage easier to spot during the handover inspection.
The Catchments & Creeks sediment fence fact sheet specifies at least 300 mm of fabric anchored in a 200 mm trench. It gives maximum post spacings of 2 m without backing and 3 m with the specified support wire or mesh, and describes overlapping fabric to the next support post as one joining method.
Use the detail selected for the job consistently. Do not take the wider post spacing from one system and combine it with unsupported fabric from another.
| Inspection point | Acceptable result | Fault to resolve |
|---|---|---|
| Buried edge | Continuous anchorage matching the drawing | Loose fabric resting on the surface |
| Post support | Correct spacing and firm posts | Sagging bays or leaning supports |
| Fabric joins | Supported seam matching the installation detail | Unsecured overlap between posts |
| Fence ends | Returns following the planned uphill alignment | An open downhill escape route |
Photograph the trench and the fabric positioned inside it before backfilling. Those details are difficult to inspect once the work is finished, and photographs give the supervisor a useful record.
Assign someone to check the fence and record repairs. The inspection frequency should follow the site plan, with extra attention after rainfall and after machinery has worked nearby.
Remove sediment before it overloads the fence or consumes the required storage space. Use the trigger in the approved maintenance schedule and place removed material where it will not wash straight back.
Keep the product specification, spare-material location and inspection record with the site handover notes. Replacement crews should be able to identify the installed system without guessing from its colour.
Install it before starting the earthworks that will drain towards it. Include inspection of the completed fence in the pre-start checks, rather than waiting for rain to reveal gaps.
The fabric goes on the uphill side, with posts behind it on the downhill side. Check this orientation again at corners, where it is easy to carry the fabric onto the wrong face.
The standard trenched installation buries and anchors the bottom edge. If trenching is impossible, use a specifically designed alternative; scattered rocks or a few pegs are not a continuous seal.
For a single 20 m run at 2 m spacing, the calculation is 20 ÷ 2 + 1 = 11 posts. Add the supports needed for returns, joins and separate runs; this example excludes those extras.
Use the sediment fence fabric specified for the installation. If the product names are confusing, understanding what silt mesh is used for helps distinguish it from other landscaping materials before ordering.
Follow the site's removal criteria once the contributing ground is stabilised. Remove retained sediment and fencing materials, then reinstate the disturbed fence line so removal does not leave another source of runoff sediment.
All Stake Supply's erosion control products for site works can help you assemble the materials specified for the job. Match the order to your drawing and allow for the joins and returns you have measured.
Separate your initial installation order from the repair stock you want kept on site. Label spare rolls with the product details so a later crew can replace damaged fabric with the same material, rather than using whatever mesh happens to be in the ute.
Check the full product range for the remaining site supplies once the fence components are confirmed. Before delivery, nominate an unloading point and a dry storage area clear of vehicle routes; rolls left beside an active access track can be damaged before the installation starts.
For help matching available supplies to your materials list, contact the team about your silt fence order. Have your installation detail and quantities ready when you contact us.