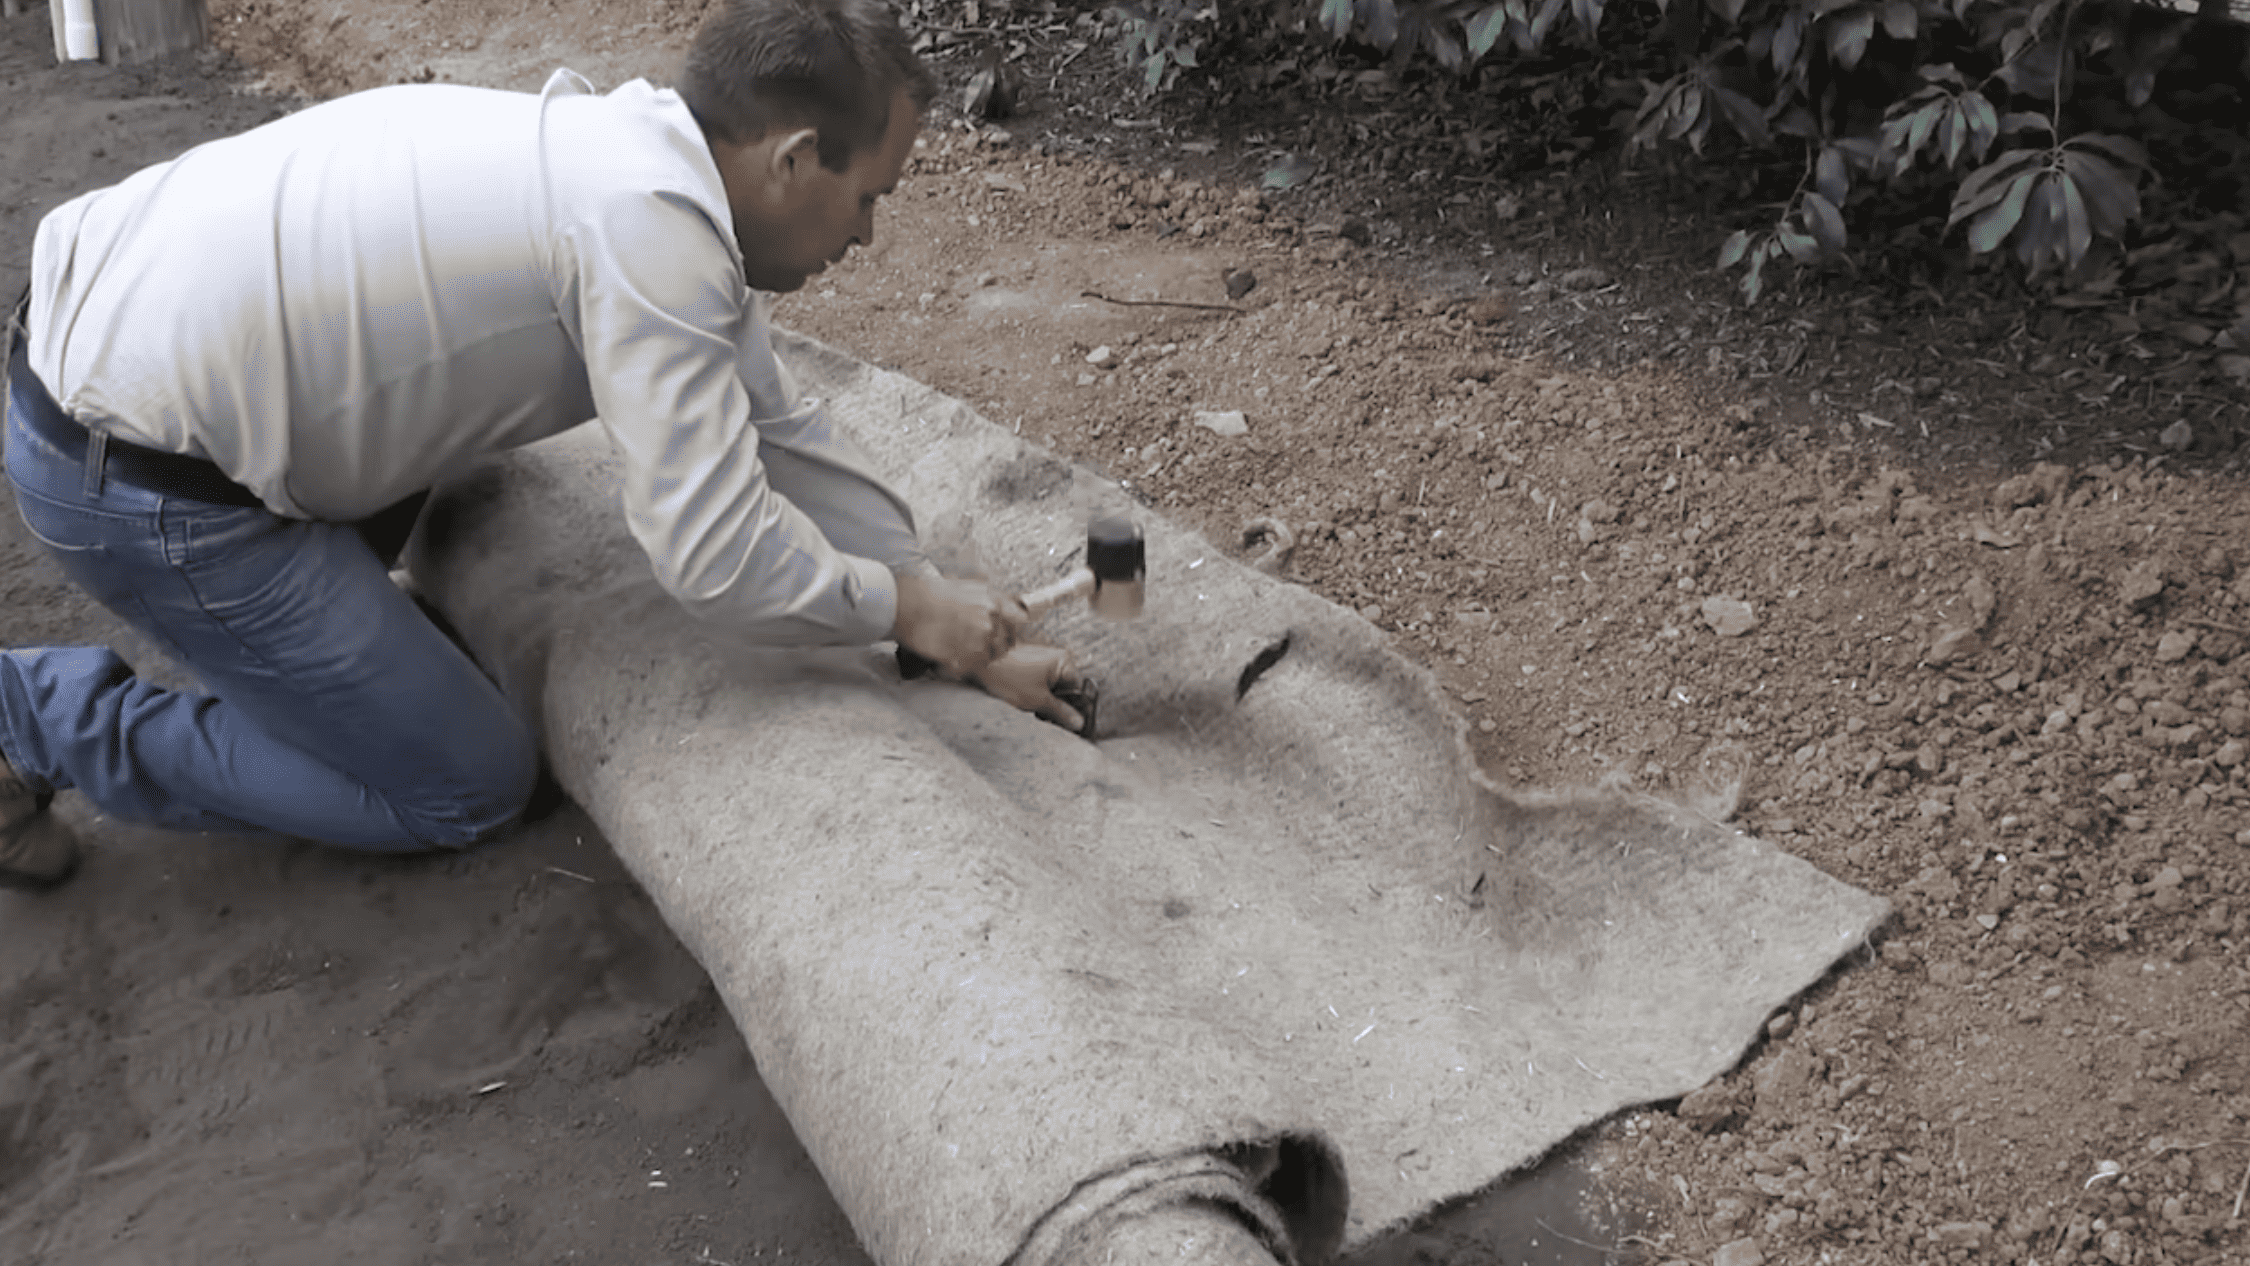
To install grass reinforcement mesh, prepare firm, even, well-drained ground, lay the mesh over the grass and secure it with the specified steel pins. Let the grass grow through before regular use, and check the fixing instructions for your mesh grade before starting.
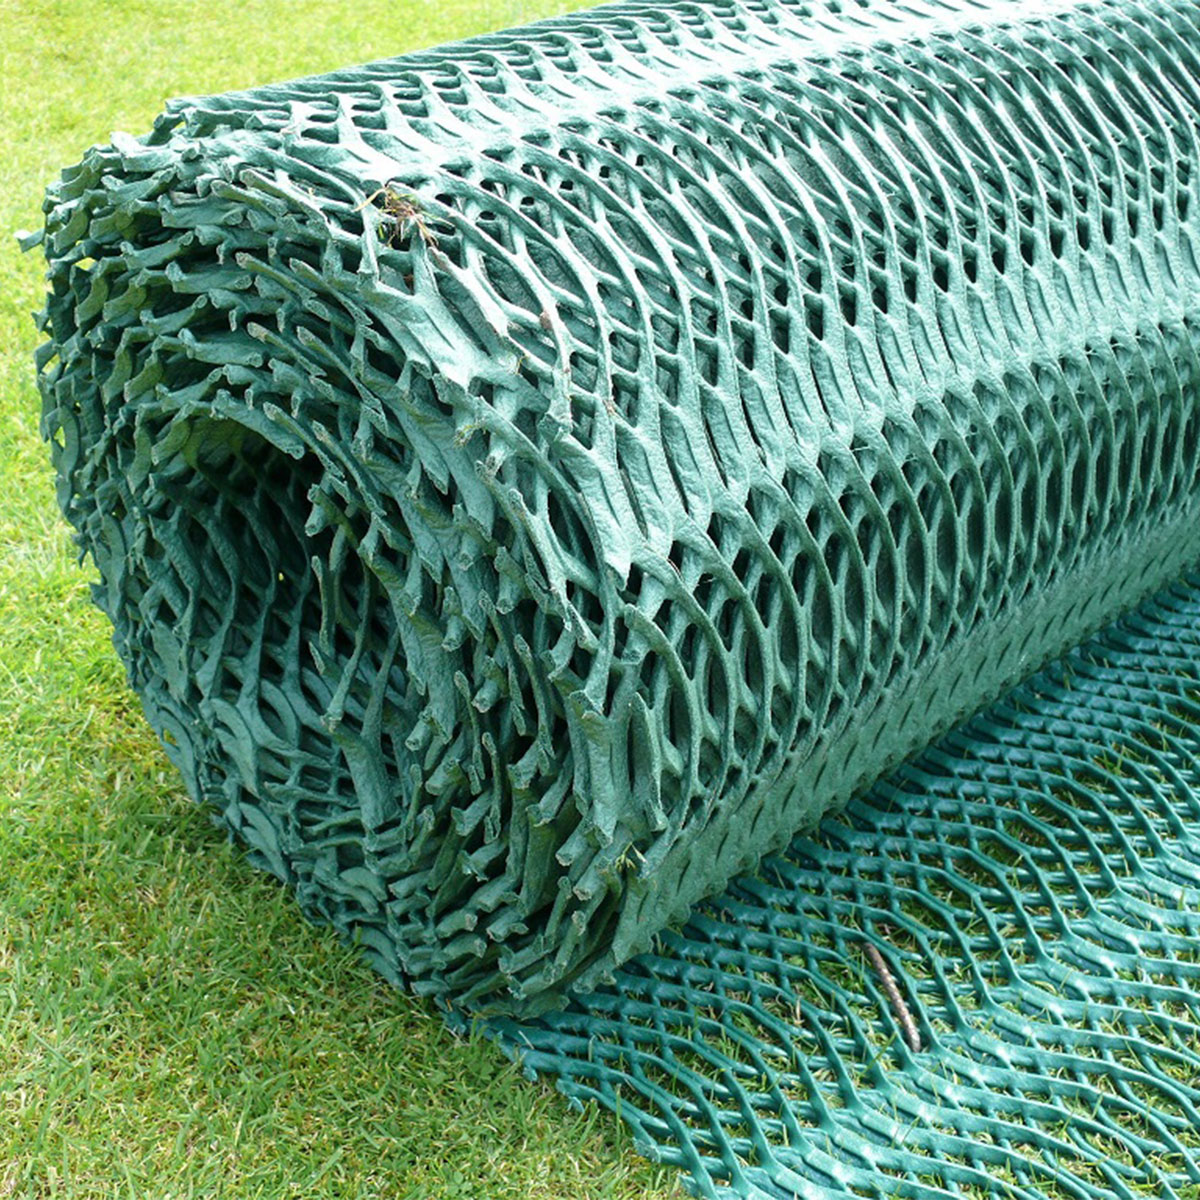
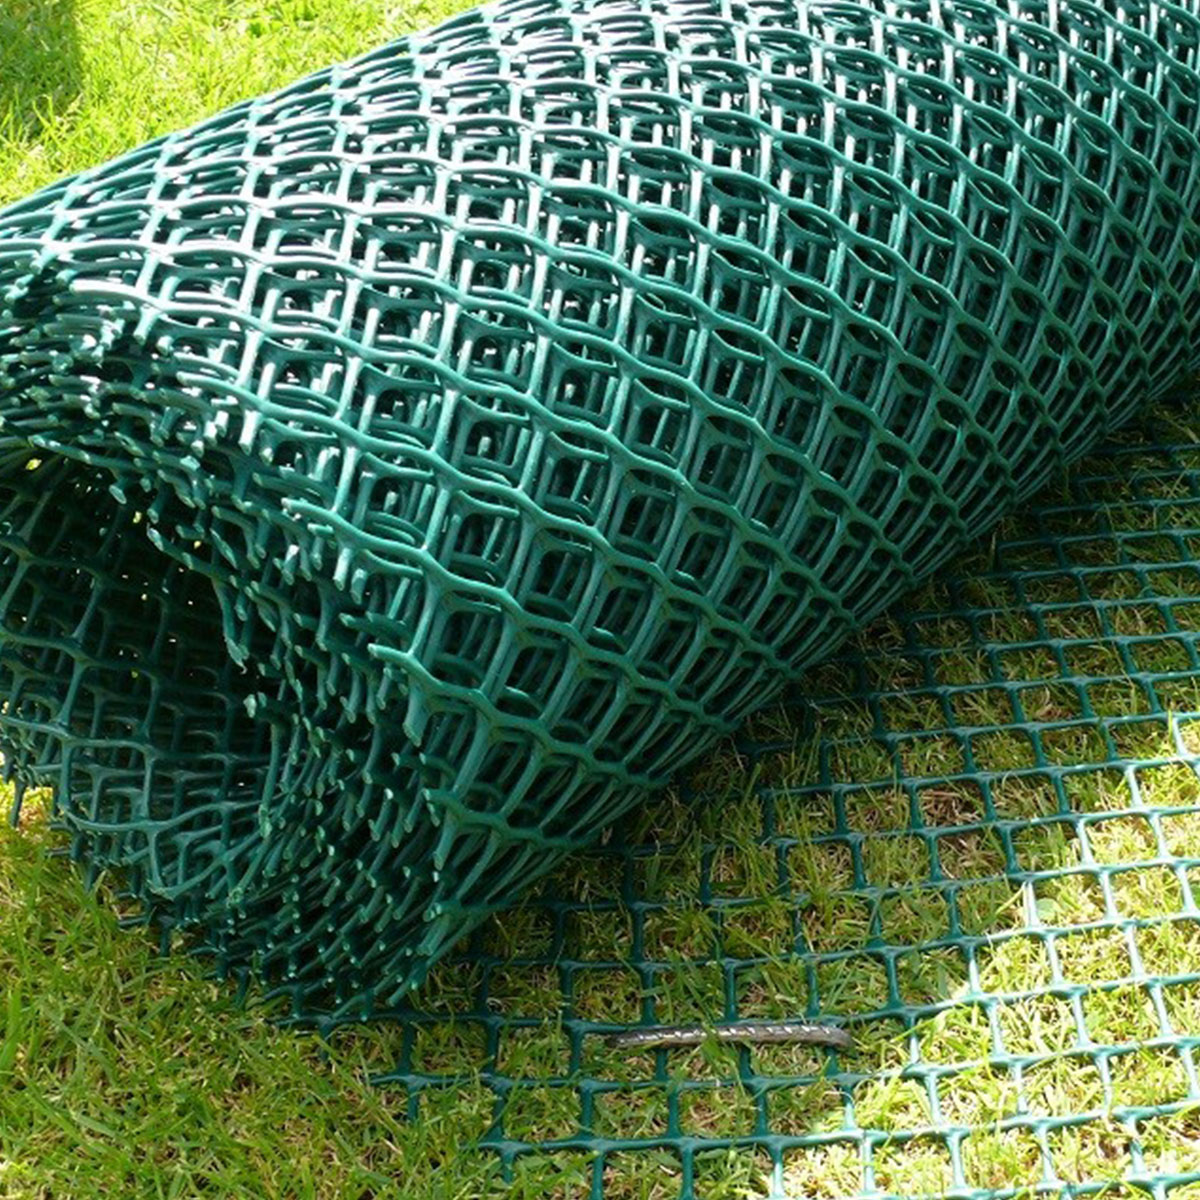
Grass Reinforcement Mesh is an improved heavy duty thick polyethylene mesh used for reinforcing grassed surfaces prone to wear, rutting and smearing. This product is ideal for permanent or temporary applications such as protecting your lawn when you park on grass.
Walk the proposed route after rain. Soft wheel tracks, standing water and uneven ground need attention before you cover them; mesh cannot make an unsuitable base carry traffic.
Choose a period when your lawn is actively growing and you can water it as needed. In Sydney, plan around the grass variety and actual ground conditions rather than a fixed installation month.
The All Stake grass reinforcement catalogue distinguishes GR11 for lighter, less frequent applications from GR14 for more intensive traffic. The site still needs to suit the proposed use; thickness alone does not establish a vehicle load rating.
| Mesh | Roll option | Installation planning point |
|---|---|---|
| GR11 | 1 m by 10 m | Sketch short runs and narrow sections before cutting. |
| GR11 | 2 m by 20 m | Allow for joins and offcuts across wider areas. |
| GR14 | 2 m by 20 m | Confirm suitability where traffic is more intensive. |
For short runs, measure the layout against GR11 mesh in a 1 m by 10 m roll before deciding how many rolls to order. If the site needs the heavier grade, check the coverage of GR14 mesh in a 2 m by 20 m roll.
Have these items ready before unrolling:
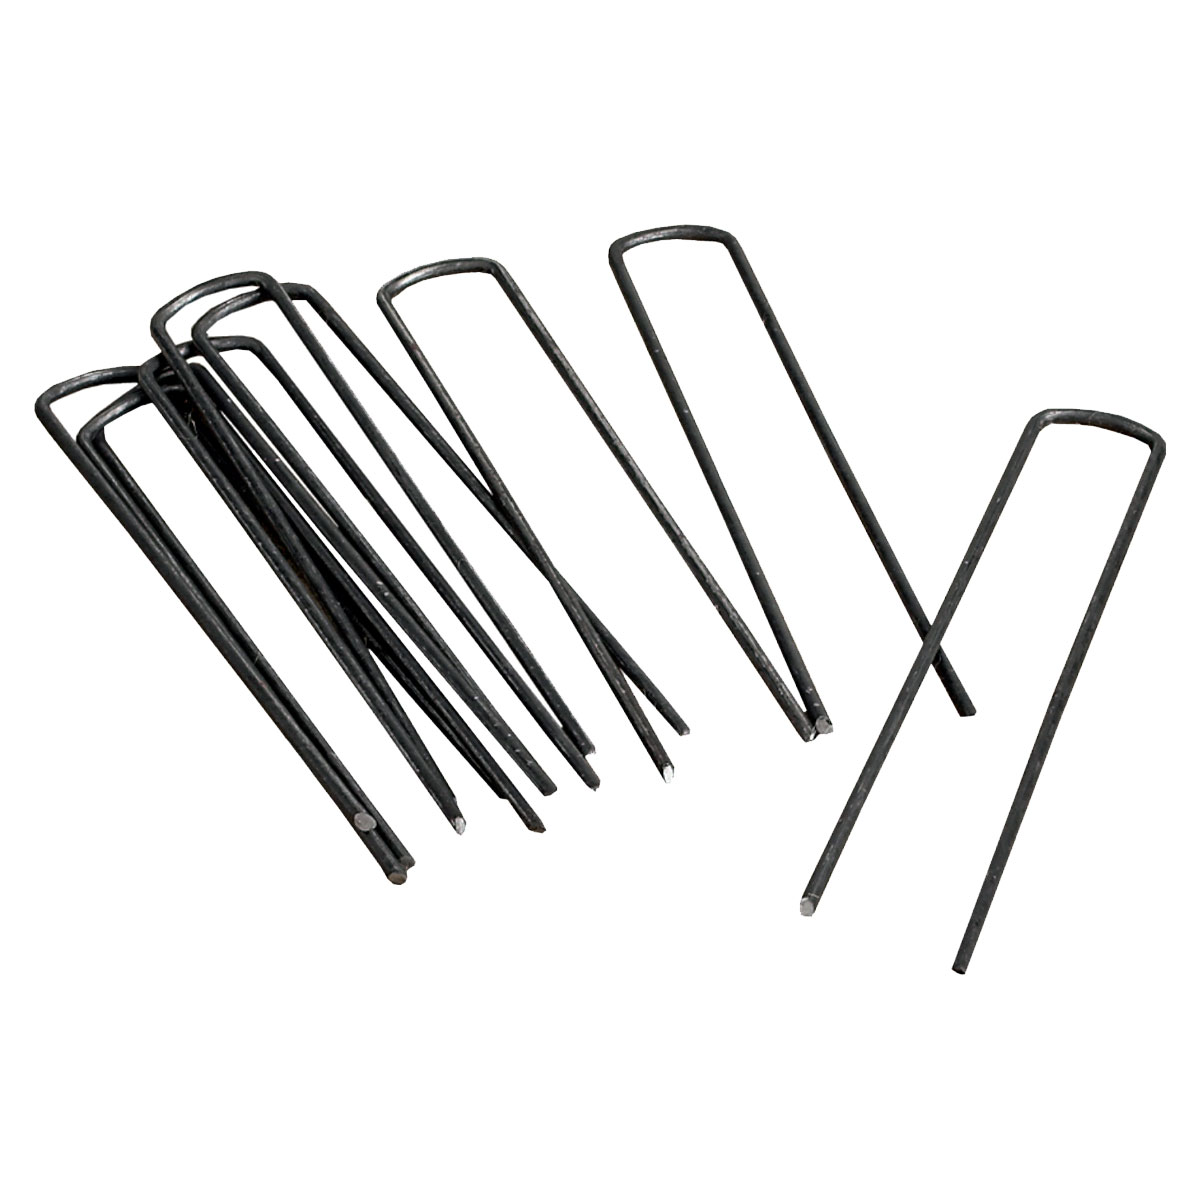
The range includes 200 mm steel fastening pins in packs of 150. Confirm the complete pin specification before ordering: the GR11/GR14 specification lists 200 by 30 mm pins, while the catalogue shows a different size.
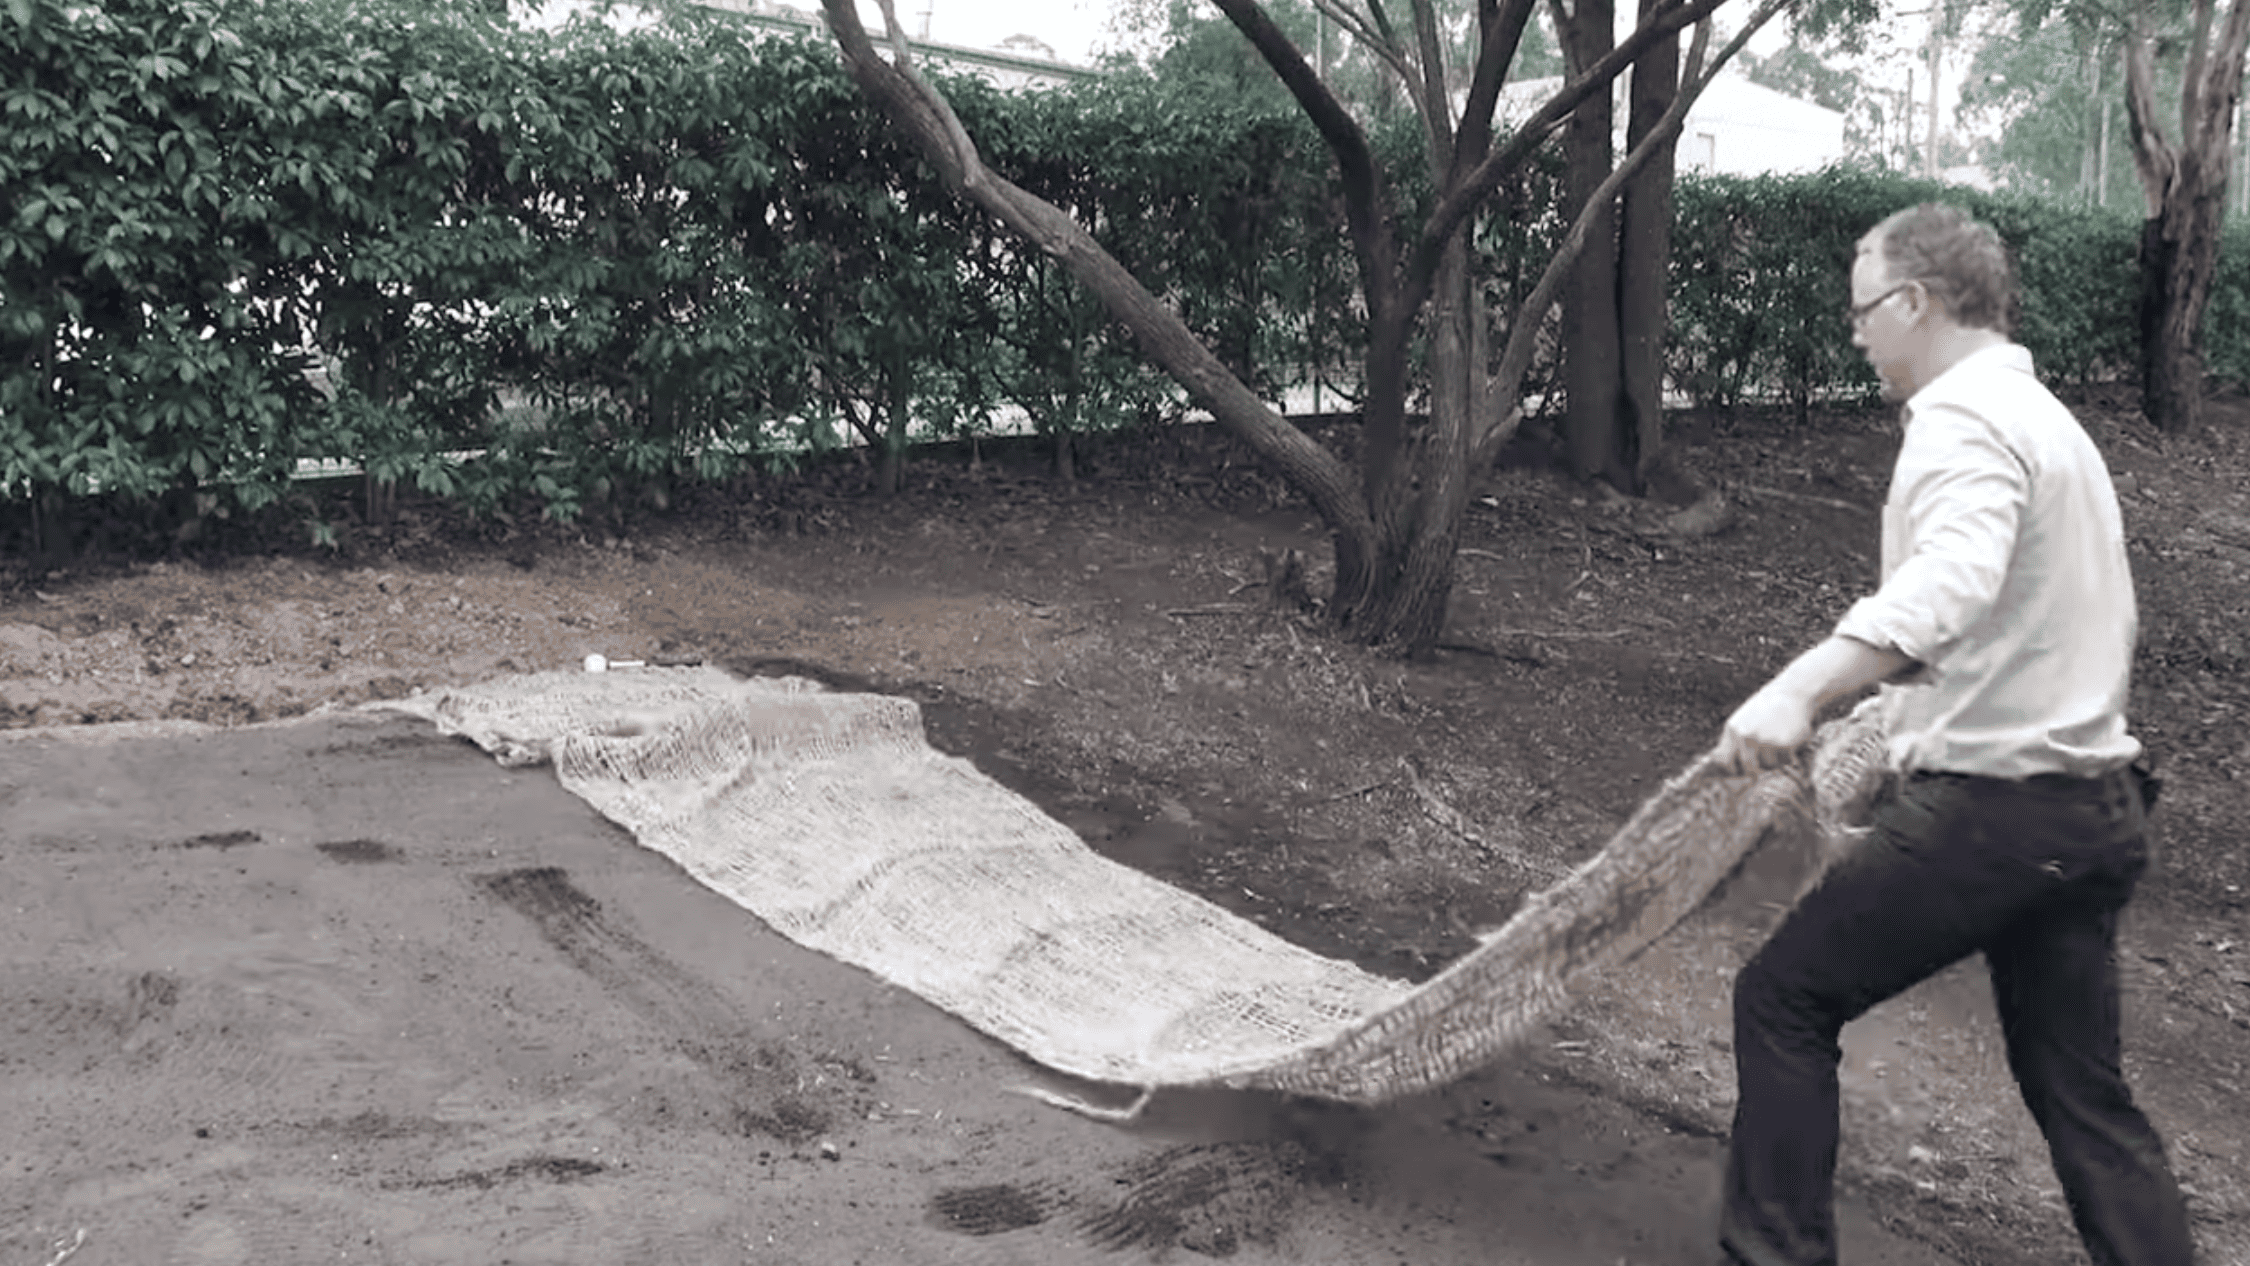
Keep the supplied installation video above handy while setting out the work. The GR11 and GR14 specification sheet describes laying the mesh onto stable ground and securing adjacent lengths with metal U-pins.
For comparison, TERRAM's GrassProtecta installation guidance specifies butt joints rather than overlaps and staged pinning to avoid ripples. Those instructions apply to GrassProtecta: ask All Stake Supply to confirm the joint detail, temperature allowance and fixing pattern for the rolls you purchase.
Do not stretch a roll across a hollow to make it look flat. Lift the affected section and correct the surface beneath it before continuing.
Before handing the area back, record where the rolls join and photograph the finished fixings for your maintenance file. Note any soft patches that needed work and who will inspect them after rain. That gives the grounds team a practical starting point if the same section lifts or wears later.
The product listing for GR11 mesh in a 2 m by 20 m roll specifies a minimum of five steel fastening pins per square metre. That gives a useful ordering baseline, but it does not replace an edge-and-joint fixing plan.
Distribute pins using the installation layout, with attention to edges, joins and lifted areas. Check the installed surface as well as the number of pins used.
Turf reinforcement mesh is laid over suitable existing grass and pinned down so the grass can grow through. For TR4 turf mesh in a 1 m by 10 m roll, the linked product specification calls for reasonably flat, even, well-drained ground with established grass.
Do not assume that a lightweight turf mesh and GR14 are interchangeable because both come in rolls. Confirm the traffic application first, then use that product's pinning and establishment instructions.
Keep regular traffic off the installation while the lawn grows through and the surface settles. All Stake Supply's Newcastle University running-track case study records grass knitting through the mesh within three months; that was the result on this project, and your lawn may take more or less time.
Inspect the whole area before mowing. Start with a higher mower setting so blades clear the mesh and fixings, then adjust as the grass establishes; TERRAM gives similar initial mowing advice for its GrassProtecta system.
Yes, on suitable firm, even and well-drained ground. Mow and prepare the surface first, then follow the selected mesh's fixing instructions.
For installation over an existing lawn, the mesh goes above the grass. Confirm the method for new turf or a seeded surface before starting.
Do not assume they should. Confirm the joint detail for your product; overlapping can leave a raised edge if the system requires butt joints.
Mesh does not replace drainage or ground preparation. Persistent mud or rutting needs assessment before installation.
Plan for active grass growth, workable ground and time to keep traffic away. Local weather and the grass variety matter more than a fixed month.
Do not assume immediate parking is suitable. Ask for advice on any temporary use, and allow grass establishment before regular traffic.
Follow the mowing guidance for your mesh, and keep the blades clear of all mesh and fixings. Check for raised edges and exposed pins before every early cut.
Keep people off that section, check the ground contact and refix it using the specified method. Do not mow across a loose edge.
No. Mesh grade, soil, drainage and traffic frequency all affect suitability. Have the intended route assessed before selecting a product.
Before ordering, contact the team about your mesh installation with the area dimensions, ground condition and expected traffic. Confirm the grade, pin specification and layout together, then check the full product range for your installation supplies.