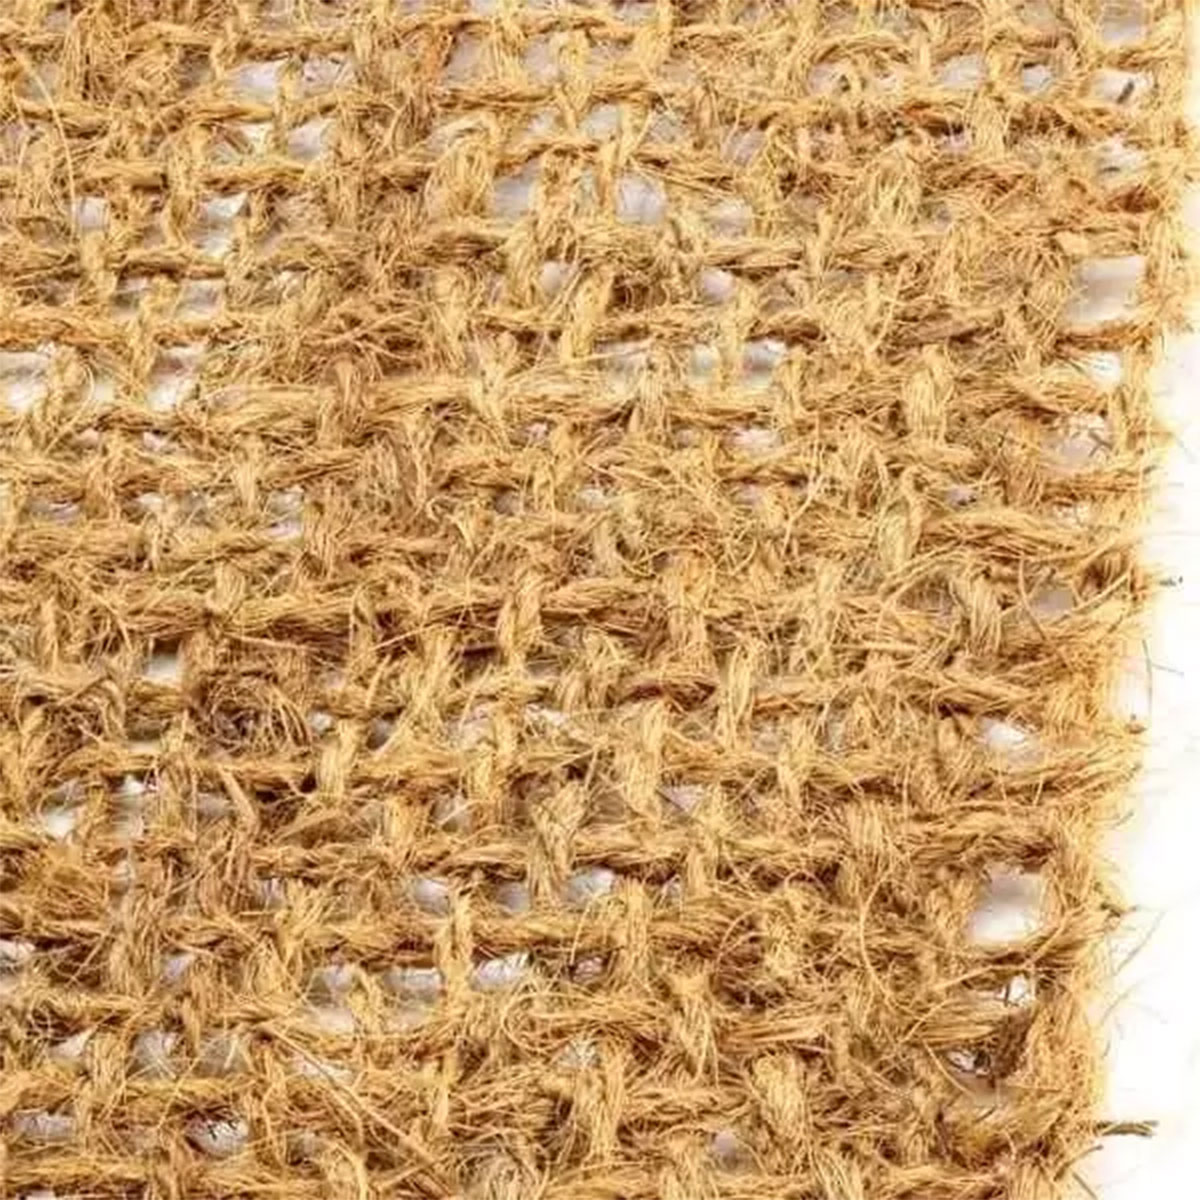
Coir log silt berms are flexible barriers made from compressed coconut fibre. Set across a runoff path or along a slope contour, they slow water, catch moving sediment and give vegetation time to establish. They can also be used beside drains and around small erosion points.
For the right site, coir logs provide temporary erosion control while plants establish. They are not a substitute for structural bank protection or an engineered drainage system. Installation still matters: a loose log can be undercut, bypassed or moved during runoff.
Check the site before installing a coir log berm
Start by watching where water enters, crosses and leaves the area. The berm needs stable ground at both ends and enough length to stop water simply running around it. Mark buried services before driving stakes, and keep machinery, stock and foot traffic away from the treated ground while plants establish.
Use coir logs for sediment capture, small areas of scour and revegetation support.
Identify the expected direction of flow and the low point before setting out the line.
Check whether the soil will hold stakes. Loose fill or saturated soil needs closer assessment.
Measure the complete run, including returns at both ends and any overlap or lacing at joins.
Plan a safe outlet. A berm should slow or redirect water without sending it towards a building, neighbouring property or unstable bank.
Site check: Coir logs suit minor erosion work. Active gullies, deep scour, steep or unstable banks, concentrated high flows and works in a waterway can require a site-specific design, permits and professional advice.
The installation below is a practical method for minor erosion and sediment control. The NSW Government's small-scale erosion control guidance recommends preparing a shallow trench, securing coir logs with hardwood stakes on both sides and checking the structure after heavy rain.
Set out the line. Mark a smooth line across the flow path or along the contour. Extend both ends onto stable, higher ground so runoff cannot cut around the berm.
Prepare the surface. Remove loose debris, sharp objects and high spots. Keep established vegetation where it helps hold soil and does not prevent the log from sitting firmly.
Cut a shallow trench. Form a seat wide enough for the log so water cannot readily pass underneath it. Avoid burying the whole log. For waterway work, the WA Government's shore stabilisation guidance calls for a shallow trench slightly below channel grade.
Place the logs. Press each log into its seat and shape it to the ground. Keep the mesh intact and make sure there are no unsupported sections.
Join each length. Use the connection shown in the product or project detail. This may call for tight butted ends laced with coir twine, an overlap or another specified joint. Do not leave an open path between logs.
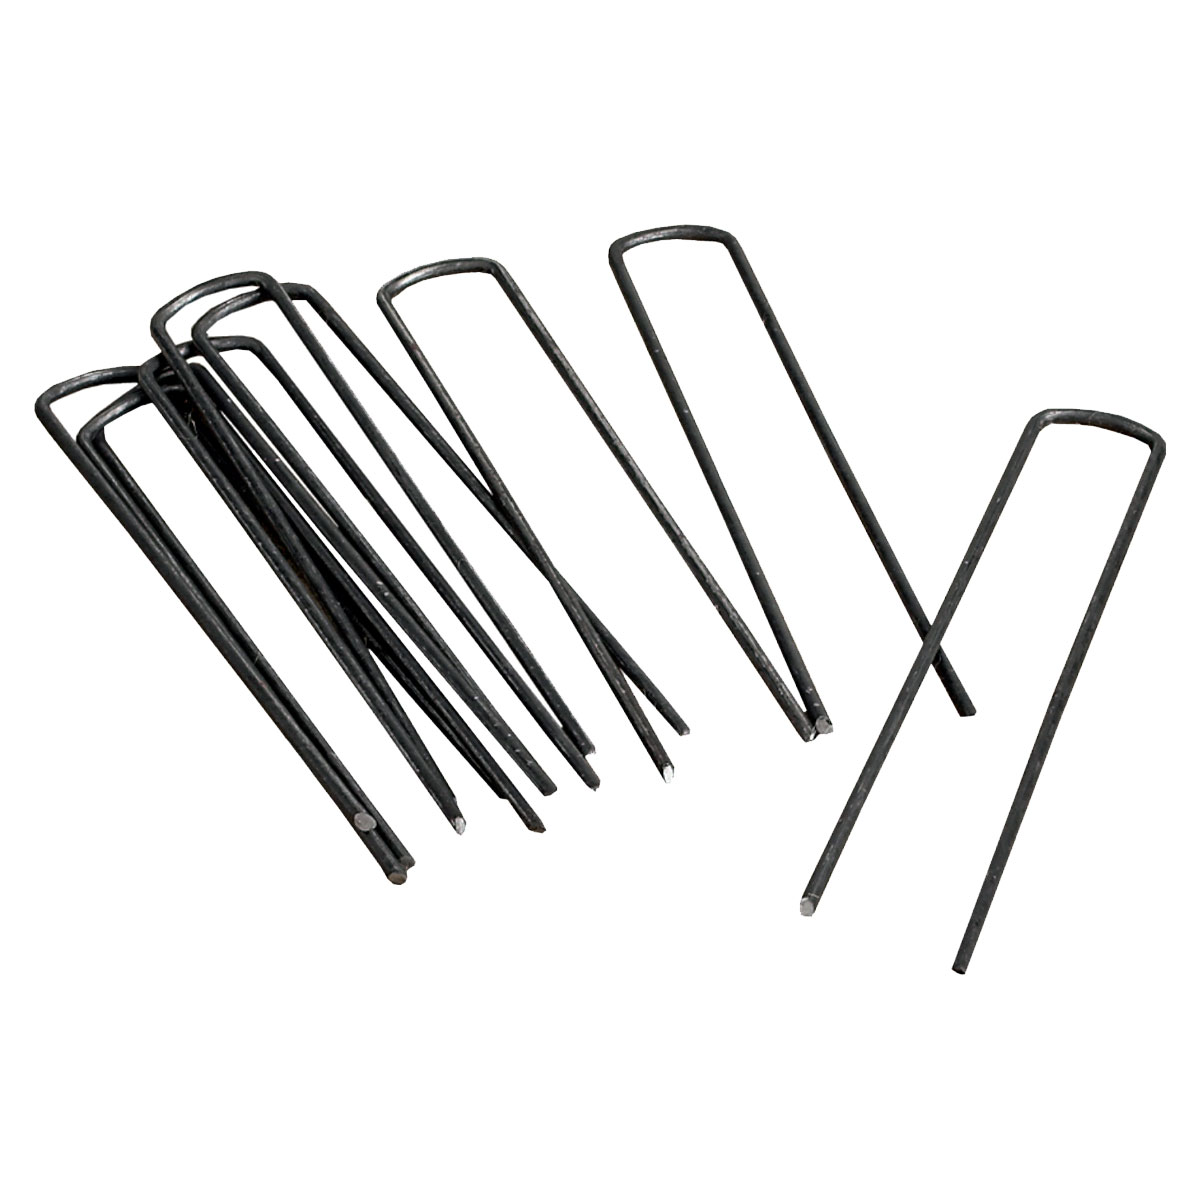
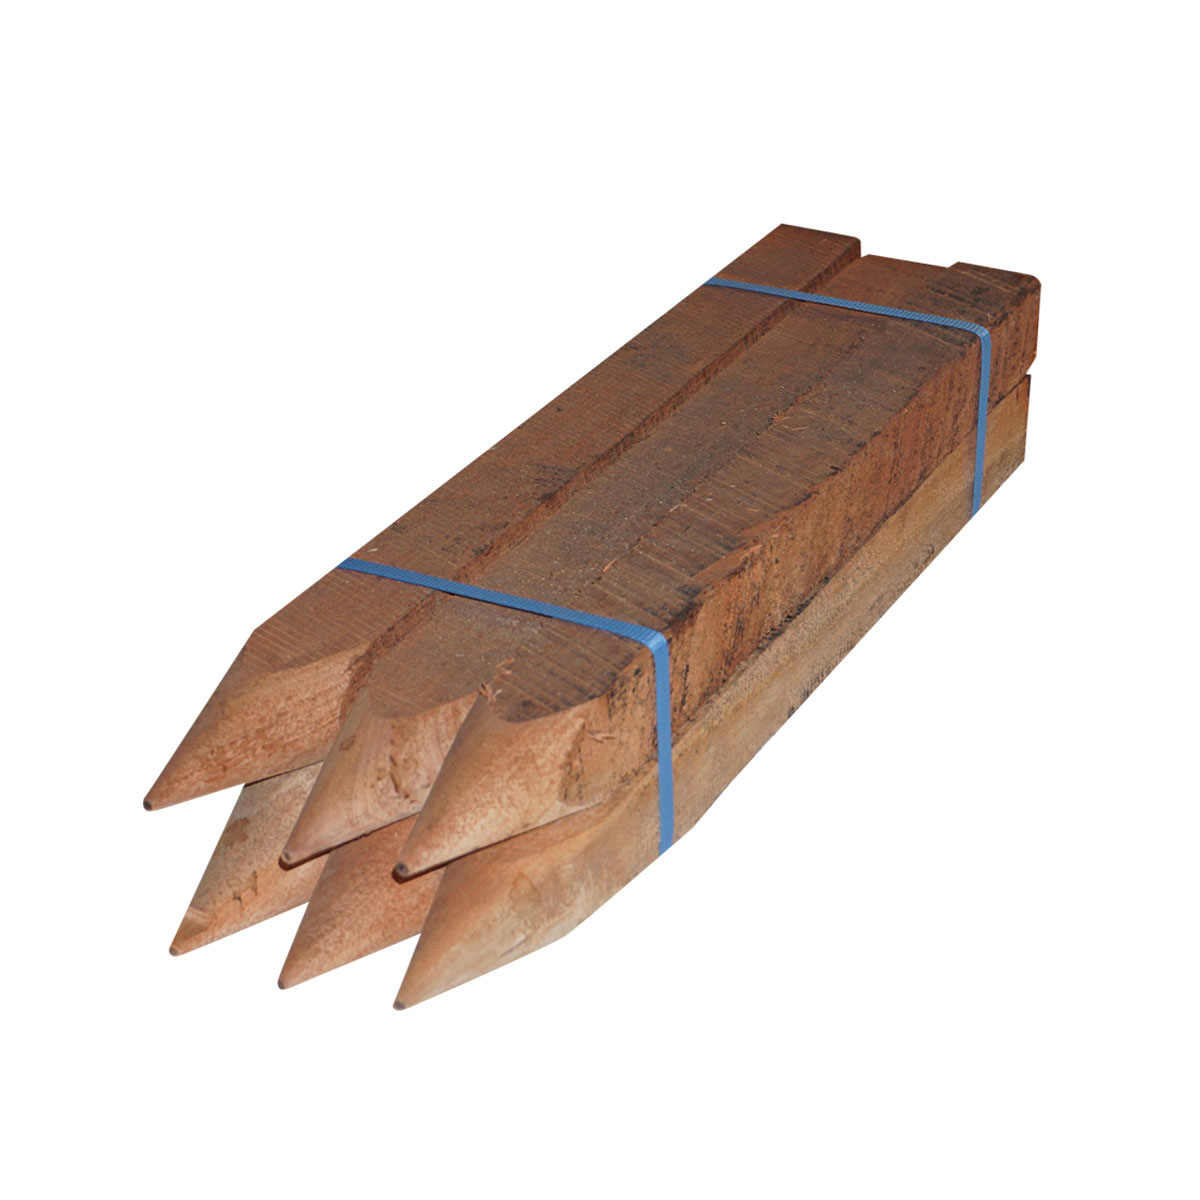
Drive stakes on both sides. Install opposing stakes with the required embedment so the log cannot roll, lift or slide. For one small-scale erosion example, NSW Government guidance uses about three stakes along each side of a 3 m log. This is an example, not a universal spacing rule.
Finish the ends. Turn each end upslope or into stable ground, then compact soil around the return. Do not leave an open flank facing the incoming flow.
Backfill and plant. Fill small voids without blocking the planned outlet. Seed or plant the disturbed soil so root growth can stabilise it as the coir breaks down.
Place the berm to suit the flow path
Walk the proposed line in both directions and check where water will collect as the log traps sediment.
Across a slope: follow the contour so the berm spreads and slows sheet flow instead of concentrating it at one end.
In a drain or swale: use the documented check layout, including the crest, overflow, end returns and scour protection. Generic spacing is unsafe because catchment and flow conditions vary.
Near exposed soil: intercept runoff before it reaches the damaged area and discharge it onto a protected surface.
Along a creek or riverbank: stop and obtain the required design and approvals. The NSW Government's riverbank erosion guidance explains why toe protection, vegetation and low stakes matter, but it is not a universal construction drawing.
Do not guess around waterways: Check council, landholder and environmental approval requirements before disturbing a bank or bed. Hydraulic conditions can exceed what a simple coir log berm can manage.
Laying the log on uneven ground: gaps underneath invite undercutting. Re-form the seat and pack voids before runoff arrives.
Stopping the berm too soon: water will travel around an exposed end. Extend the return onto stable ground.
Leaving gaps between logs: re-lace or reposition the join so the ends stay in contact.
Using too few stakes: add restraint where the log lifts, rolls or bows. Stakes must hold in firm soil on both sides.
Leaving stakes high beside flowing water: protruding stakes can collect debris. Use the height shown in the waterway design.
Treating the log as the finished solution: repair bare soil and establish vegetation. The coir is temporary support while roots develop.
Inspect and maintain the berm
Inspect after rain and at the frequency required by the site's erosion and sediment control plan. Once water cuts a bypass channel, fixing the log alone will not restore the original flow path.
Check for movement, lifting, rolling or broken mesh.
Look for scour underneath the log and erosion around both ends.
Remove accumulated sediment only when it starts to reduce the berm's function, and dispose of it where it cannot wash back into the drain.
Replace loose stakes and ties, then repair disturbed soil.
Replant failed areas and keep traffic away until ground cover is established.
Coir logs work best where a flexible, biodegradable barrier can slow shallow flow and support planting. If the job is mainly filtering sediment on a construction site or protecting an inlet, the installation pattern and product may differ. The guide to using a silt sausage for sediment control explains that option in more detail.
Control
Usually considered for
Installation focus
Coir log berm
Minor erosion, revegetation, contours and shallow drainage paths
Ground contact, tight joins, side stakes and protected ends
Silt sausage
Temporary sediment filtering and adaptable perimeter control
Correct fill, continuous contact and secure placement
Coir or jute matting
Broad areas of exposed soil on slopes
Surface preparation, overlaps, anchoring and planting
Frequently asked questions
How deep should a coir log be trenched?
Cut a shallow seat that stops flow passing beneath the log while leaving most of the log above ground to slow water and trap sediment. The exact depth depends on the log diameter, soil and site design. Waterway guidance may specify the log relative to the channel grade, so follow the approved drawing where one applies.
How far apart should the stakes be?
For minor erosion work, NSW Government guidance gives about three stakes on each side of a 3 m coir log. Use closer restraint where the design, soil, slope or expected flow requires it. Each stake needs firm embedment and should restrain the log rather than simply touch it.
Should a coir log run along the contour or with the water flow?
For a slope berm, place it along the contour so it intercepts and spreads shallow runoff. In a drain or swale, it normally crosses the flow path as a check structure. Shoreline and bank installations use a different site-specific alignment.
How do you join two coir logs?
Bring the ends into firm contact and lace their outer mesh with coir twine or the tie specified for the project. Check the joint after staking. It should not open when the logs settle or when shallow flow reaches the berm.
Can you plant into or behind a coir log?
Yes. Coir logs are commonly paired with seed, tubestock or other revegetation. Plant placement depends on the site, but the aim is to establish roots in the protected soil so vegetation gradually takes over the stabilising work.
How often should the berm be inspected?
Inspect it after rainfall and as required by the site's erosion and sediment control plan. Look for bypass at the ends, scour underneath, loose stakes, open joints, damaged mesh and sediment build-up. Repair defects before the next runoff event.
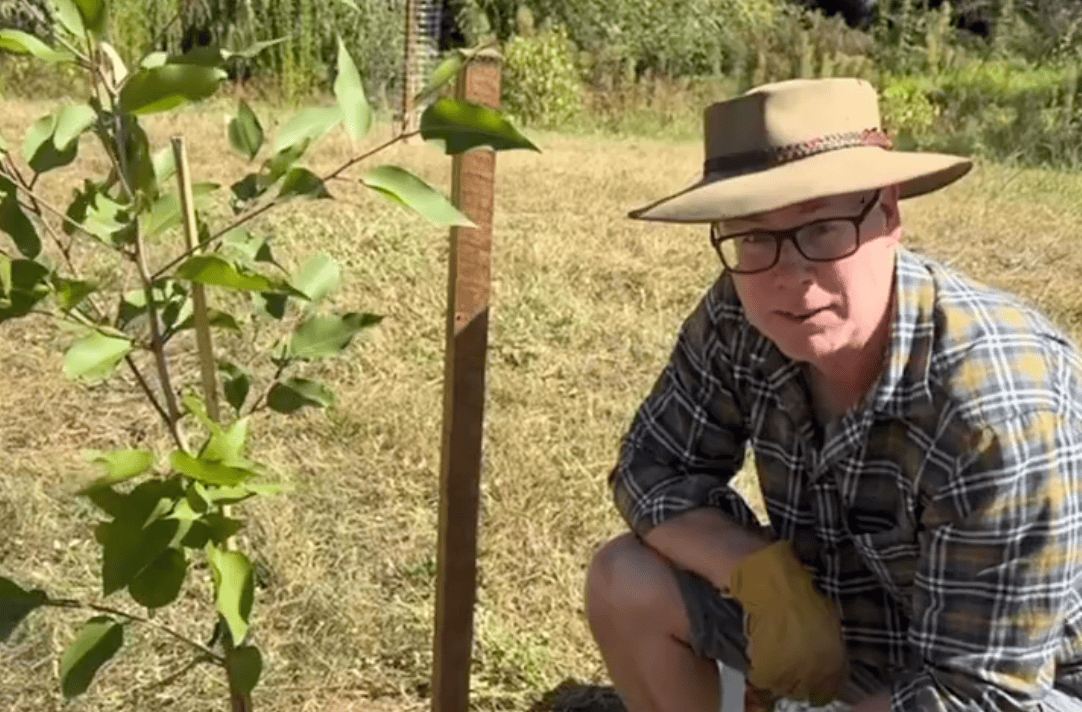
Watch our related installation videos to gain additional insights and practical tips for ensuring the best application of our products in your projects.